
前回、全6回に渡りPythonで音声処理の連載をしました。
今回からPythonで画像処理の記事を連載していこうと思います。
まず前準備として、画像処理の様子をわかりやすくするために、PythonでGUI(グラフィカルユーザインターフェース)を作成し、画像を表示するだけのプログラムについて説明します。
GUIというと、C++やJavaなどのプログラミング言語で実現しようとすると割と面倒で、僕の場合、心の障壁がありましたが、Pythonでは、数十行で実現可能で、そういう意味で積極的に利用が可能になります。
今回実行するプログラムに必要となる追加モジュールは、画像処理モジュール「pillow」です。予めインストールしておきましょう。
pip install pillow
では早速プログラム全体を見ていきます。GUIを利用できる環境(Windows、MAC、Linux等)で、モジュールインストールが済んでいれば、実行可能なはずです。
たったこれだけのプログラムでGUIウィンドウで画像が表示されます。
実はPySimpleGUIという追加モジュールを利用すればもっと簡単にGUI表示できますが、今回は少し複雑なことを実現するため、Python標準のtkinterを利用しています。
2、3行目では、本プログラムで必要となるモジュールをインポートしています。
tkinterはPython標準のGUIモジュールです。PIL(Pillow)はPythonで画像処理を実現する際に、一般的に利用するモジュールです。
5行目から30行目までがメイン処理です。
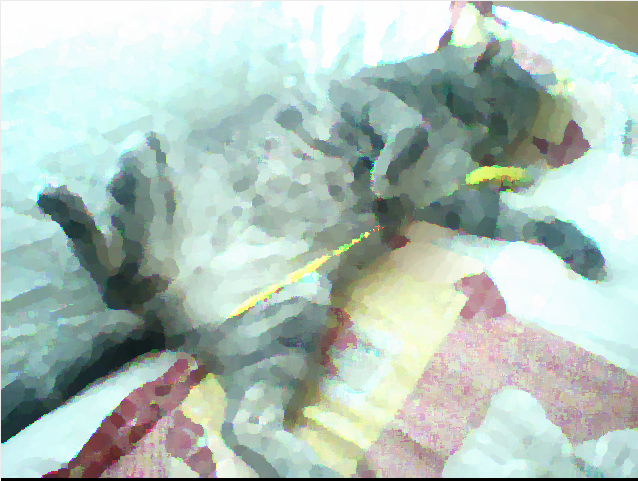
7行目で、画像ファイルのファイル名を指定します。今回は「yama.jpg」という画像をプログラムファイルと同ディレクトリに置きました。下記画像です。
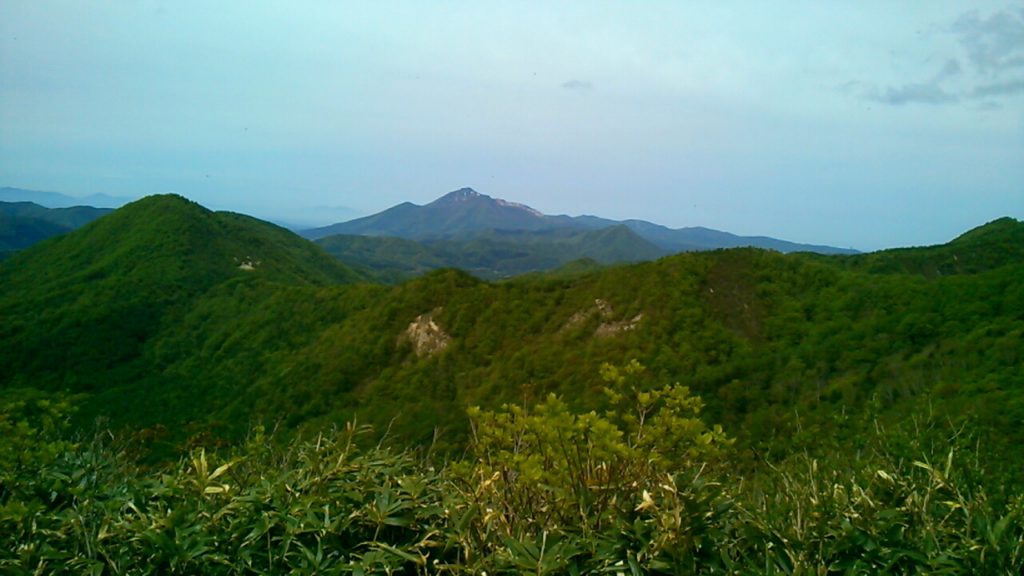
旅行した際の写真です。どこだったかな。。
10行目で、Pillowモジュールにより「yama.jpg」を開きます。
13行目では、開いた画像のサイズを取得しています。wに横サイズ(px)、hに縦サイズ(px)が入ります。
16行目から18行目で、GUIを作成します。16行目でtkinterのオブジェクトを作成し、17行目でウィンドウのタイトルを指定、18行目でウインドウサイズ変更不可に設定しています。
21行目では、Pillowモジュールにより開いた画像をtkinterでGUI表示できるよう変換しています。
24行目で、GUIにCanvasを定義しています。Canvasとは、GUIで図形操作をする際に利用するオブジェクトです。これを利用すればお絵かきソフトを作ることもできます。画像を表示するだけであればCanvasは不要ですが、今後作成する画像処理プログラムのために用意しておきます。
27行目で、Canvasに画像を貼り付けます。Windowsのペイントというソフトで画像を貼り付けるイメージです。
28行目で、GUIに定義したCanvasを適用し、表示します。
30行目で、GUIを表示します。
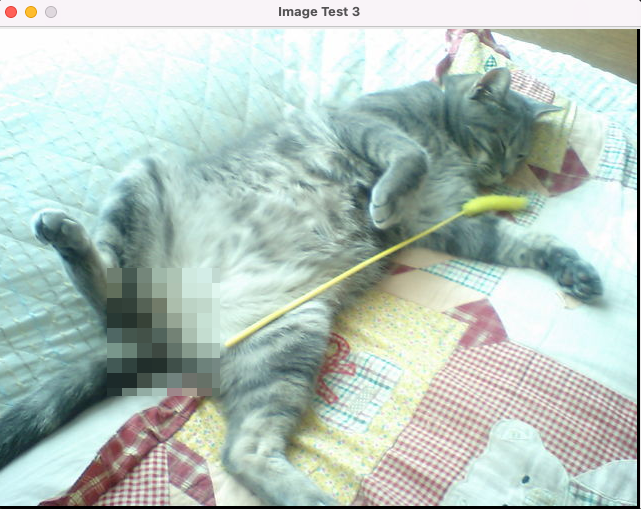
プログラムを実行すると、下記のようなウインドウが表示されます。
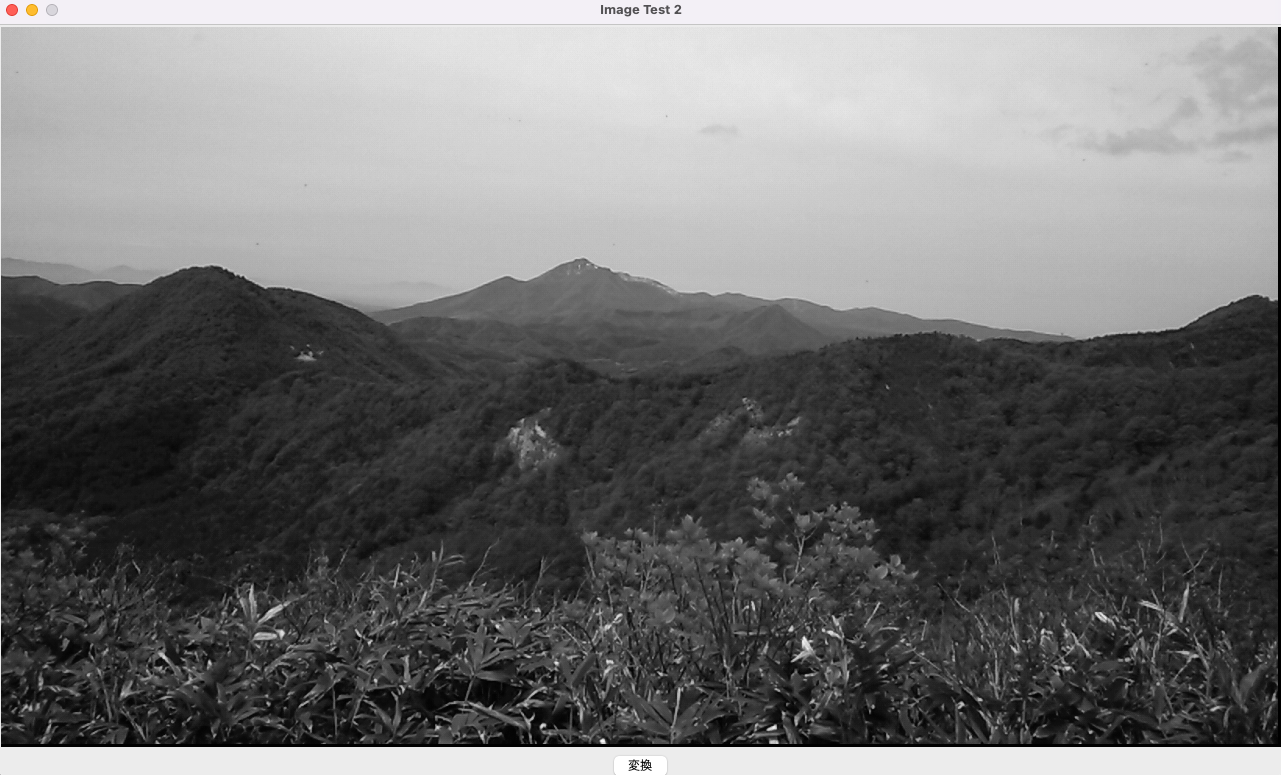
Macで実行した結果です。

Windowsでも実行可能です。
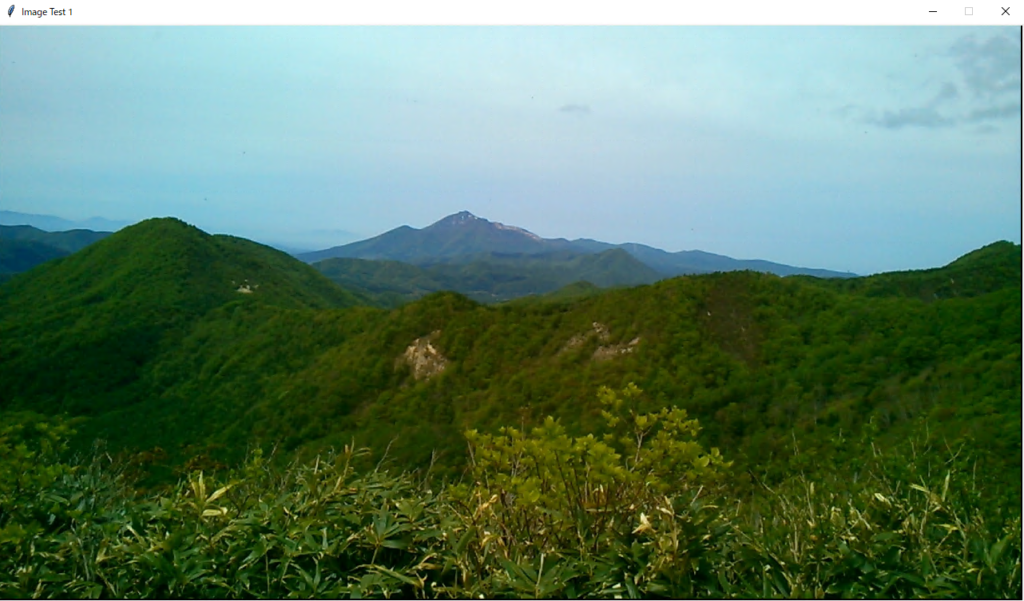
うまくいきました。
簡単でしたが、今回は以上となります。
次回からは、本プログラムを元に画像処理プログラムを作成していきます。
次回は、GUIに変換ボタンを設置し、画像を白黒に変換してみます。
コメント